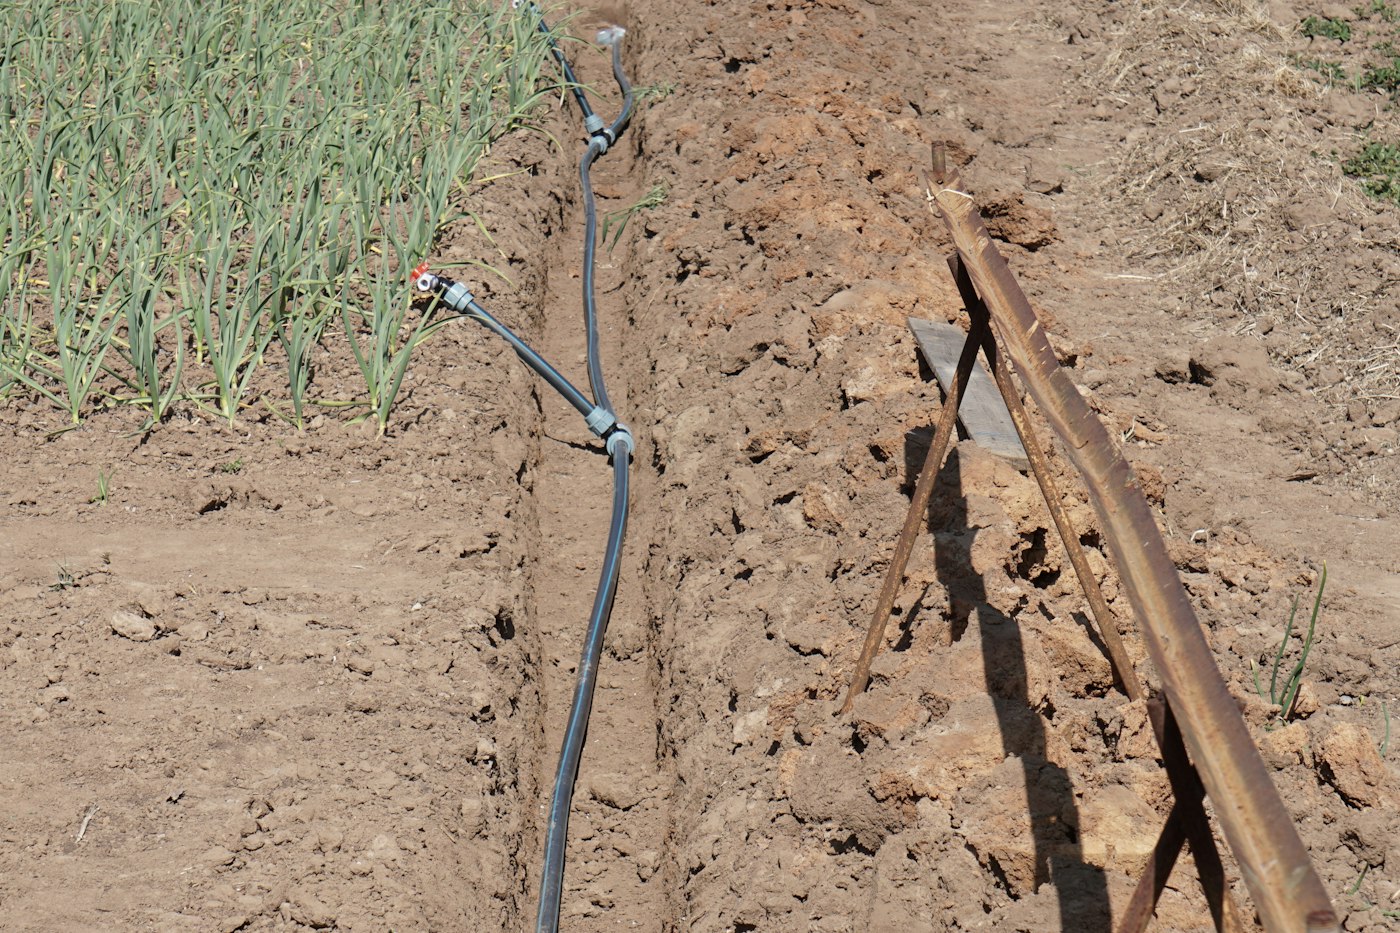

Drip irrigation sounds technical, but it’s really just tubing, connectors, and small emitters that let water out slowly. If you can attach a garden hose, you can learn how to install drip irrigation. Most home systems go together with only a pair of scissors and a hole punch.
This guide covers in-ground beds, shrub borders, and container groupings. If you only have raised beds, see our dedicated guide to drip irrigation for raised beds.
How Drip Systems Work
A drip system has three parts. First, a head assembly at the faucet controls water. Next, mainline tubing carries water through the garden. Finally, emitters or emitter tubing release water at each plant. Because water goes straight to the roots, very little is lost.
Plan Before You Buy
- Sketch your garden and mark the faucet.
- Group plants by water needs. Vegetables and annuals need more; established shrubs need less.
- Measure the distance from the faucet to each area.
- Note the type of plants in each zone, since this decides emitter spacing.
Parts List
- Timer (optional but recommended)
- Backflow preventer
- Filter
- Pressure regulator
- Half-inch mainline tubing
- Emitters (0.5 to 2 gallons per hour) or emitter tubing
- Quarter-inch tubing for branches to individual plants
- Connectors, end caps, stakes, and a hole punch
How to Install Drip Irrigation, Step by Step
Step 1: Assemble the Head
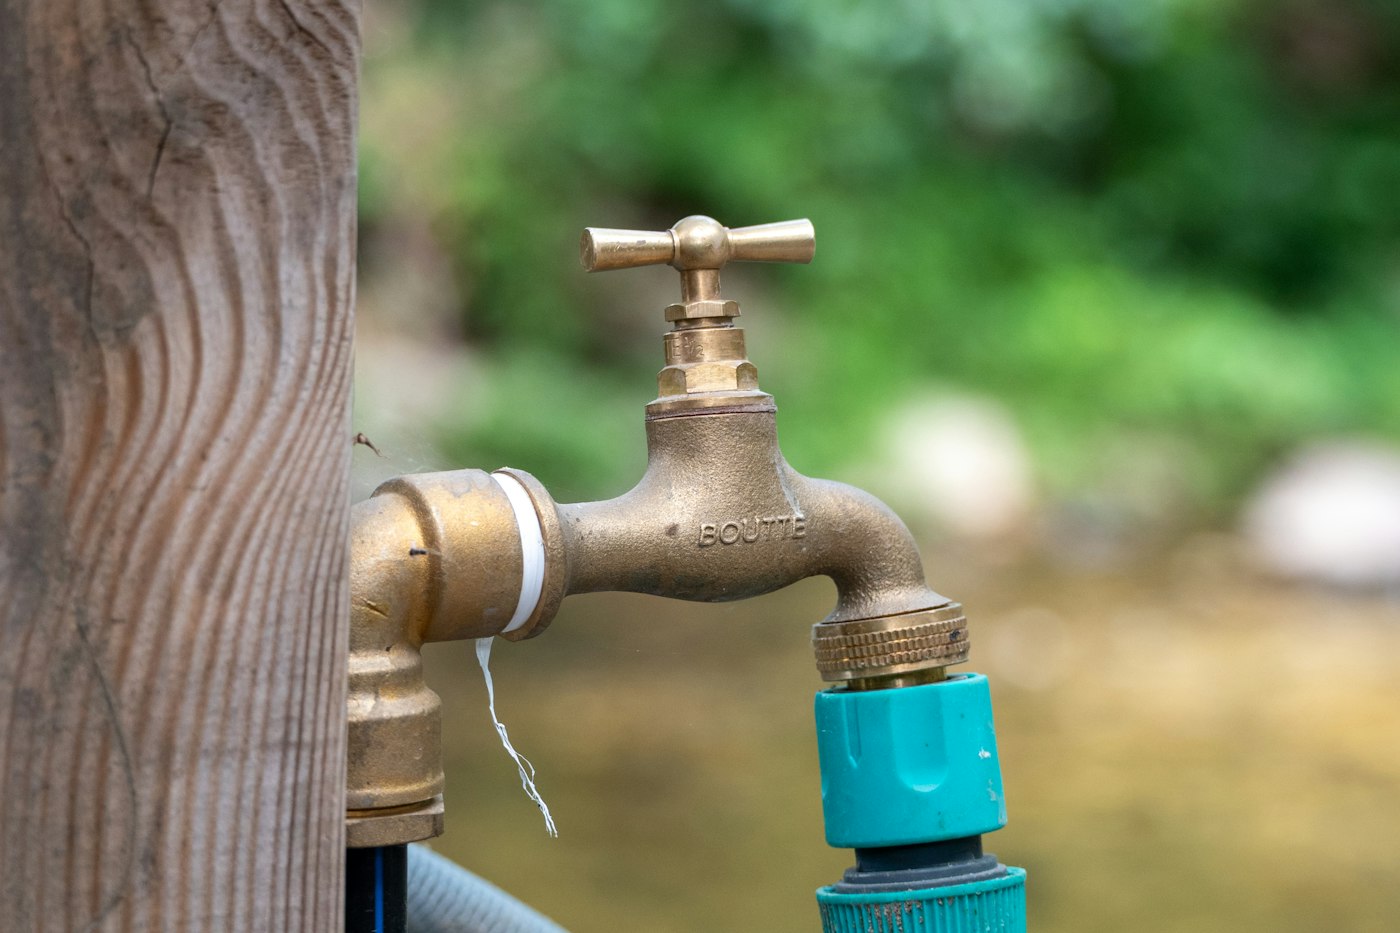
Attach the timer to the faucet. Then add the backflow preventer, filter, and pressure regulator, in that order. Finally, add the tubing adapter.
Step 2: Lay the Mainline
Roll out the half-inch tubing along the path of your beds. Let it sit in the sun for a bit to soften. Then pin it in place with stakes every few feet.
Step 3: Add Emitters or Emitter Tubing
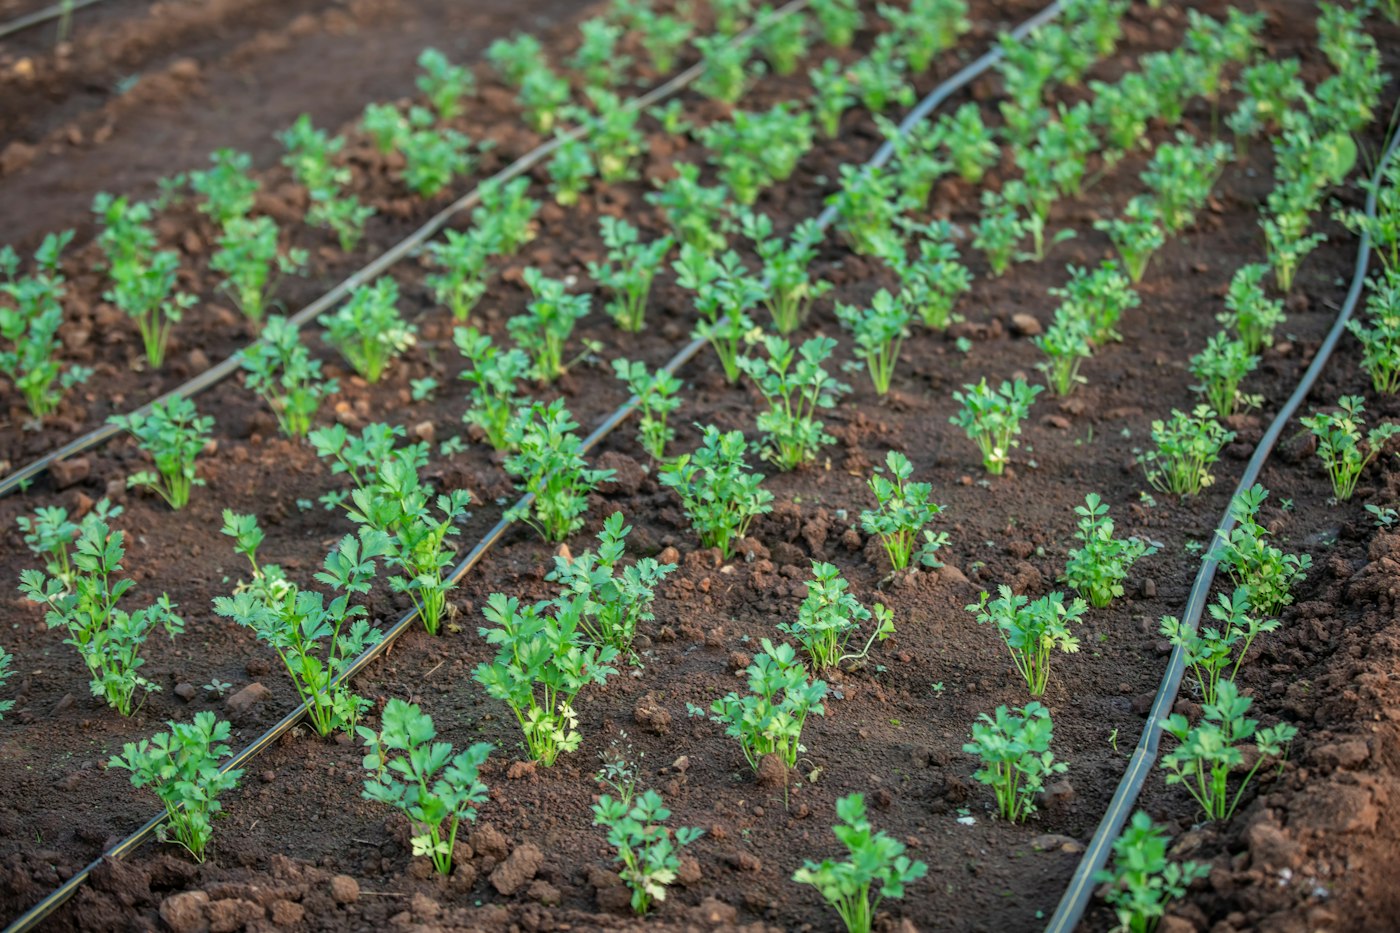
- For rows and dense beds: Use emitter tubing with built-in drippers every 6 to 12 inches.
- For shrubs and trees: Punch holes in the mainline and insert one or two emitters per shrub, or more for trees.
- For containers: Run quarter-inch tubing from the mainline to each pot, ending with an emitter or stake.
Step 4: Flush the Lines
Before capping the ends, turn the water on for a minute to clear debris. Then close the ends with caps or folded figure-eight closures.
Step 5: Test and Adjust
Walk the system with the water running. Look for leaks, dry spots, or emitters that aren’t dripping. Afterward, cover the tubing with mulch to protect it from sun.
How Long to Run It
Once you install drip irrigation, start with about 30 minutes, two or three times a week, in summer. Then check the soil 6 inches down. If it’s still dry, run longer. If it’s soggy, cut back. In addition, adjust for rain and cooler months.
Maintenance
- Clean the filter every month during the season.
- Check emitters for clogs, especially with hard water.
- Repair nicks with a coupling or goof plug.
- In cold climates, drain the lines and bring the head assembly indoors before the first freeze.
Why It’s Worth It
Drip irrigation uses less water than sprinklers and keeps leaves dry, which reduces disease. Moreover, it pairs perfectly with drought tolerant landscaping and makes a low maintenance front yard even easier. The EPA’s WaterSense program also lists labeled irrigation controllers that adjust watering to the weather.
A Note for Dry Regions of South America
Drip irrigation is widely used in the vineyards and orchards of Mendoza, central Chile, and northeastern Brazil. Home gardeners there can use the same parts and methods. Just pay close attention to filters if you’re using well water or stored rainwater.
FAQ
How long does it take to install drip irrigation?
For most people, it takes two to four hours to install drip irrigation for a few beds.
Can I bury drip lines?
You can cover them with mulch. However, burying them in soil makes clogs and leaks harder to find.
Do I need a pressure regulator?
Yes. Household water pressure is too high for most drip parts and can blow fittings apart.
